Using The New Ardrive Turbo To Manage Your Files On Arweave

There are several “permanant” file storage systems available on the internet. One of the oldest and most used is The InterPlanetary File System (IPFS). Lately Arweave has become more popular and is considered by some to be a superior storage solution. Prior to the release of ardrive turbo it was quite difficult to store files on arweave. With turbo, it becomes extremely simple and eliminates the need for users to purchase AR tokens.

To us ardrive for storing your files, visit https://app.ardrive.io/#/sign-in and click on “New user? Get started here!”

Learn about the technology on the next screen and click “Continue” when you are ready.

On the next screen, you will be presented with 12 grey boxes. Click “Show Words” to reveal your private seed phrase. This is a very important step as no one can help you restore your wallet if you loose access to it. Only by having these 12 words can you retrieve your wallet and any funds stored in it. Click “Copy to Clipboard” to paste into a document or write the words down on a piece of paper and store it securely. When you’re done, click “I wrote it down.”

To prove that you wrote your seed phrase down, you will be asked to input 4 of the 12 words. Once you are done, click “Continue.”

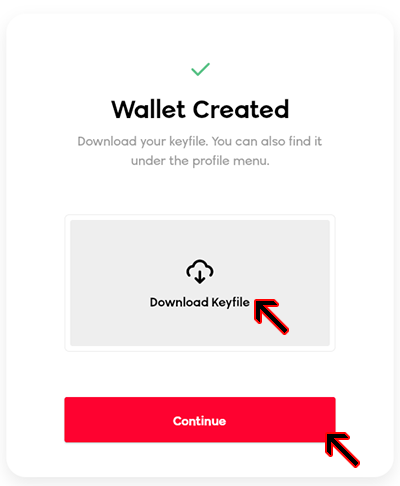
Congratulations, you have just created an arweave wallet. Click in the “Download Keyfile” box and note where it is saved. You will need this file to log in to your ardrive account in the future. Click “Continue” once you have saved your Keyfile.
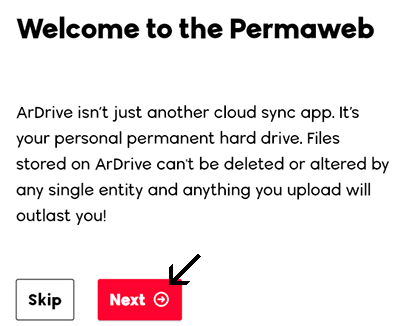
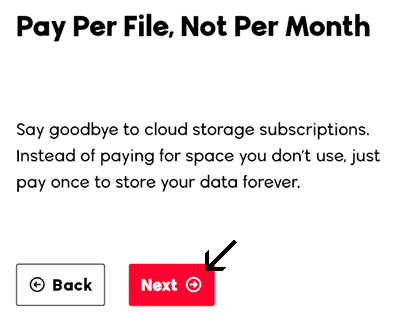
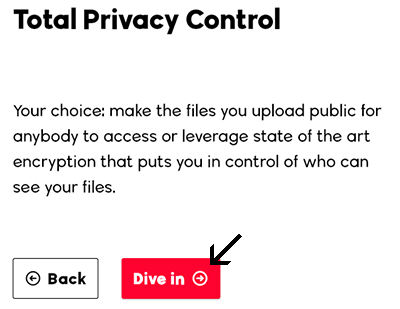
You will then be led through several sides of information about ArDrive. Click through them with the “Next” button, or skip them by clicking the “Skip” button.
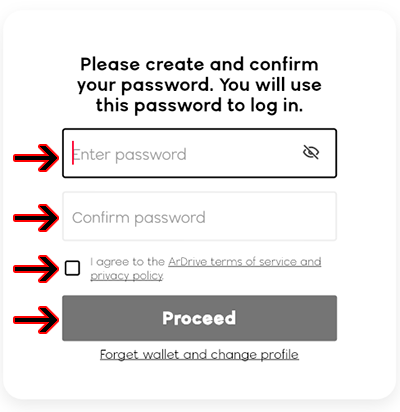
Next, you will create a password for your ardrive account. Save this password along with your seed phrase. Click “Proceed” when you are done.
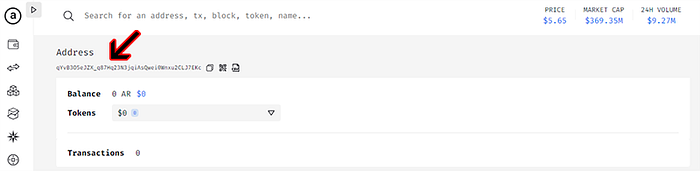
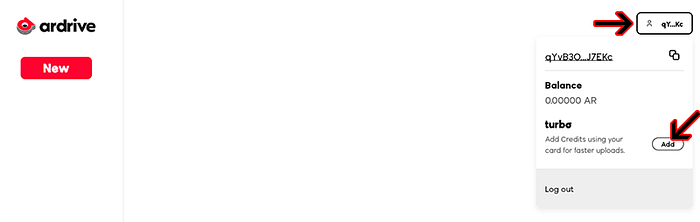
If you are curious what your airweave wallet address is (even though you do not need it for storing files anymore) click on the person icon and then on the truncated address to be taken to a block explorer for arweave.
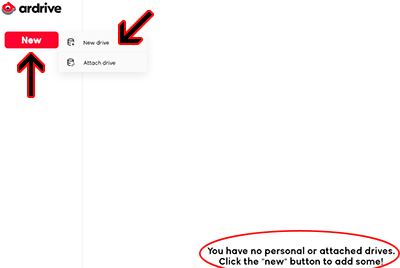
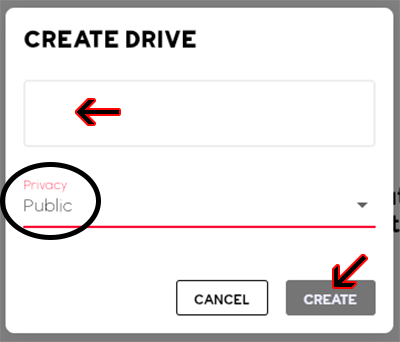
Once inside ardrive, you will need to create your drive. Click “New” at the top left and then choose “New drive.” Give it a name and change the Privacy option to “Public” and click “Create.”
It is very important that you choose “Public” for the privacy type of your drive.
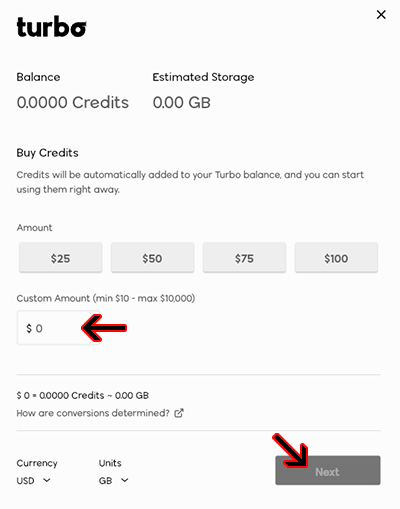
Files under 500kb in size can be uploaded to ardrive for free. You can begin uploading immediately if your files are below that size. If you need to upload larger files, you will need ardrive’s new token named “Turbo.” Simply click “add” and you will be taken to a page where you can buy turbo using your debit or credit card.
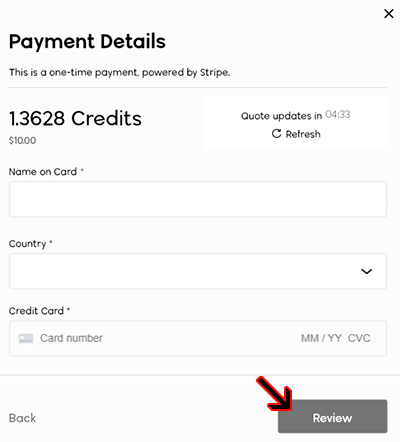
The minimum purchase of turbo at the time of this writing was $10 which would get you 1.3628 Credits.
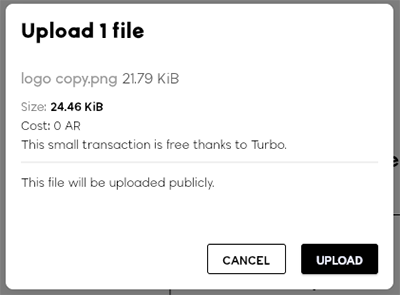
You are now ready to upload files or images into your Public Drive. Click “Upload your first file” and choose a file from your computer.
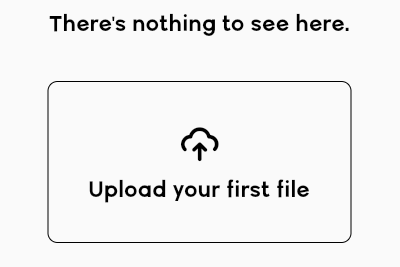
As I mentioned earlier, if your file is less than 500KB it will be stored for free.
Once your image has been uploaded you can click on the 3 vertical dots to preview it and get other important information such as the Data Tx ID.


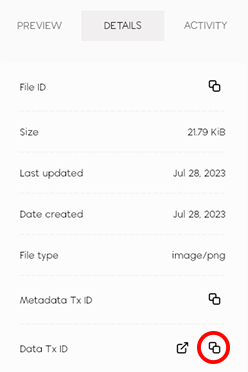
Clicking “Preview” will display your image. You could copy this page address to use as a pointer to your image. However to create a more precise link, click on the “copy” icon to the right of Data Tx ID. The Data Tx ID will look something like this: 1Nkr4Bbh26C2YmnwGLc-Wy95ZhbPW860XCRZE7v7l0Q. Append this with https://arweave.net/ and prepend with a forward slash and the filename /test.png to create the full link: https://arweave.net/1Nkr4Bbh26C2YmnwGLc-Wy95ZhbPW860XCRZE7v7l0Q/test.png
To see this process done in video form, check out robotlovecoffe’s tweet.
If you find my guides useful, feel free to tip me in BTC or Counterparty cards here: 1AV3hDLsr7hLBkv9eWvFvsFNTCCNww9eAo.